ShopDreamUp AI ArtDreamUp
Deviation Actions


Description
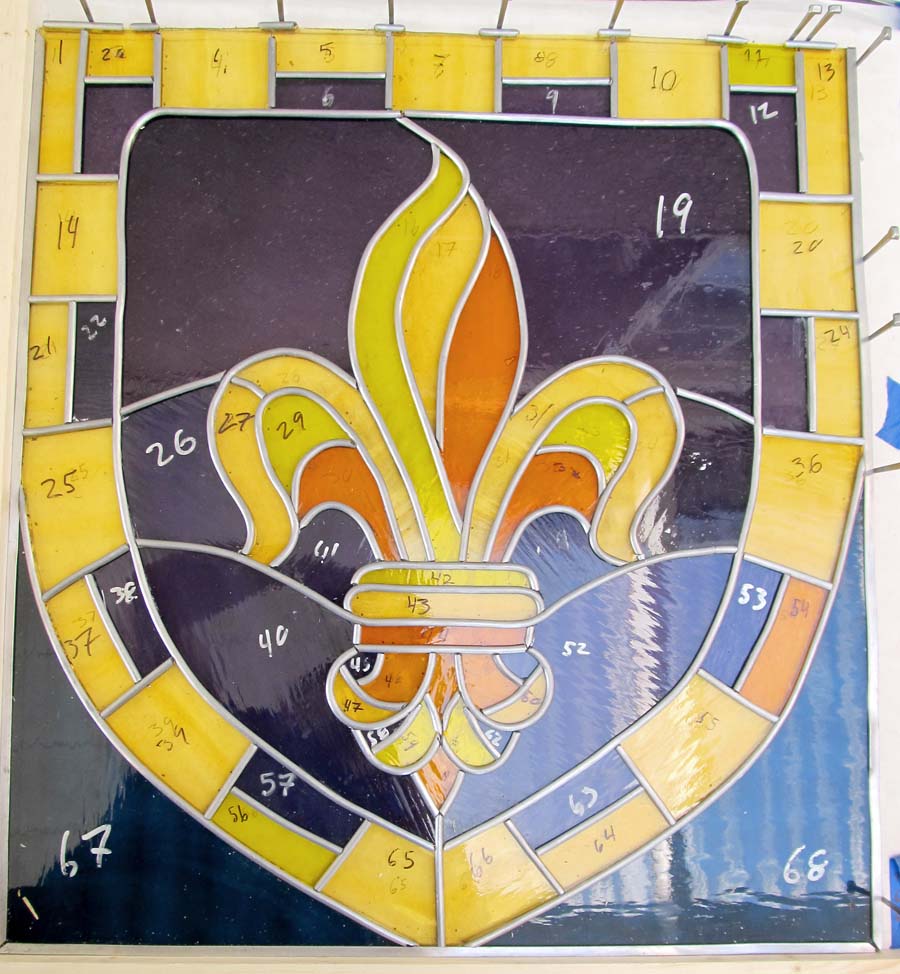
That's it! That's the last bit of lead! Well, not really, I still need to put that top bit of boarder lead in, but that'll take all of three minutes to do.  I'm so happy!
It's looking like I'll get everything done in time to pass the class!
Expect an update on my other project either tomorrow night or Sunday.
Previous progress reports:


It's looking like I'll get everything done in time to pass the class!
Expect an update on my other project either tomorrow night or Sunday.
Previous progress reports:
Image size
900x974px 154.85 KB
Make
Canon
Model
Canon PowerShot SX130 IS
Shutter Speed
1/101 second
Aperture
F/3.4
Focal Length
5 mm
ISO Speed
100
Date Taken
Apr 18, 2012, 2:41:29 AM
Sensor Size
1mm
© 2012 - 2024 Eryn-Grace-OMalley
Comments8
Join the community to add your comment. Already a deviant? Log In
Congrats on finishing this piece! I am especially impressed with your leading junctions, where they touch eachother. It not only makes the piece stronger, but makes soldering much easier. I can't tell if you use one, but a lead stretcher is essential. "Fresh" lead strips are weak, limp, and will kink, twist, and continue to soften over time due to heat and gravity. I offer a suggestion to be sure and stretch all the lead you intend to use for lead lines longer than 5 inches. It helps keep straight lines straight, and creates more uniform curves. If you do have waves or kinks in your lead lines after soldering, try using the back end of a wooden brass bristle brush to gently push the lead back before applying glazing putty.
Good luck in your glass future! You've discovered a very creative and satisfying artform!
Good luck in your glass future! You've discovered a very creative and satisfying artform!